Aspira Auto design Spacer Install guide
By Nick Irie


Aspira Auto design Spacer Install guide
This tutorial will give you a basic step-by-step guide to help install our spacers onto your model 3/Y. The general procedures follow those of a simple tire change.
Tools:
1. 21mm socket for OEM lugnuts
2. 10mm socket to remove oem rotor retaining bolts
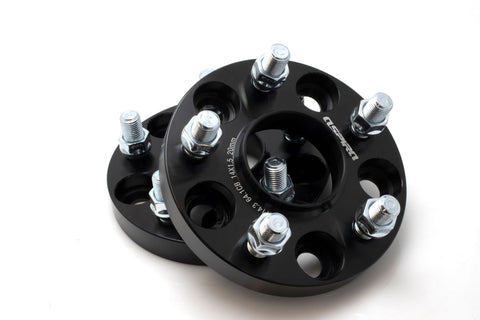
3. 19mm thin wall socket for included lugnuts to secure spacer to the OEM studs
4, Floor jack and jackstands
5. Friend or brake pedal depressor
Instructions
- On a level surface jack up the corner of the car you will be working on and make sure to secure the vehicle with a jackstand as a safety precaution. Please be aware that jack pucks should be used to reference the factory jacking points. We suggest putting a jack stand under a solid member that will not move as a safety precaution.
- Remove factory lugnuts with 21mm socket
- Once removed you will see a 10mm retaining bolt on the rotor that will need to be removed.

- Once removed you can clean any surface rust with a wire brush prior to installing the spacer. If you live in an area that sees snow or salt, you should apply anti seize around the hub protrusion to prevent the spacer from getting stuck due to mineral deposits and salt mixing with moisture.

- For the front wheels you will need a friend to hold down the brakes so you can torque the 19mm shallow lugnuts to 129ft/lbs. In the rear the parking brake will prevent the wheel from spinning so this isn't an issue.
- Now that the spacer is installed and torqued down you can install the wheel onto the spacer and torque the lugnuts to a max of 129ft/lbs.
- Repeat steps above for the other 3 corners.
- We like to mark all our torque with a paint pen. Draw a line from the nuts to the head of the stud to verify they have not moved or loosened.
- After the vehicle is driven for 100 miles remove the wheels to retorque the lugnuts attaching the spacer to the OEM studs to 129 ft lbs.

Spacers are for "off road use only"
*** Aspira spacers are compatible with most Model 3 and Y vehicles, please check our compatibility guide to confirm ***
Notes:
If you are not using wheels that we have documented in our chart you will need to verify the pockets on the mating surface of the wheels. We need to ensure that the size of spacer you purchase will work without modifications. Please share these measurements with us at aspiraautodesign@gmail.com if you need assistance with verifying what spacer to use.